
Project AIRI Manual
Corresponding version: AIRI-0.10.2
Before You Start
- Some technical functions and operations of AIRI will not be explained in detail in this manual.
- The main editor is only responsible for the Chinese version of the manual. Other language versions are currently handled using AI translation with simple manual corrections, and may not match the actual displayed content. Please refer to the actual content.
- Most of the content in this manual has been explored and researched by the editor-in-chief’s team members themselves, as well as other participants. It may not be consistent with the facts or may contain deviations. Please rely on your own actual experience as the final reference.
- This manual may not be updated in a timely manner.
- Due to limitations in capability and time, this manual currently only includes the Windows installation package version and some detailed tutorials for the web version.
- Some parts of the software use English without translation. This manual attempts to translate those parts, but the final interpretation should follow the actual software.
- The version updates of AIRI may change some content. This manual only introduces the features of the latest version at the time of writing. For other versions before or after, this manual may retain some feature descriptions; if there are differences, please handle them yourself.
- If you have any questions about this manual, please @jhicefair and leave a message on the official Project AIRI Discord channel.
- For any other questions, please leave a message on the official Project AIRI Discord channel.
- Have fun! AwA
Table Of Contents
- Chapter 1 – Installation
- Chapter 2 – Initial Configuration
- Chapter 3 – Airi Interface Overview
- Chapter 4 – Settings
- Web Version Feature Additions
- Historical Characteristics & Common Issues
- Written at the End
Chapter 1 – Installation
Go to the Project AIRI GitHub homepage: moeru-ai/airi
Follow these steps:
- Find the "Releases" option on the right side of the page.
- Click "+ 68 releases".
- Pick a version, find "Assets" below it, and expand.
- Choose the version suitable for your computer and download it.
- Locate the downloaded installer and double-click to install.
Download Page Notes
- The number in "+ 68 releases" only shows how many other releases exist, so yours may differ.
- You may also need to click "Show all 19 assets" at the bottom; that number may also vary.
- The following sections use the Windows installer version as an example.
- Due to time constraints, the installation walkthrough itself is skipped — you can handle it.
Chapter 2 – Initial Configuration
Section 1 – Preparation
Before you begin, you need to prepare at least one API from an LLM service provider.
Terminology
- LLM
LLM stands for Large Language Model. Simply put, an AI.
- API
API stands for Application Programming Interface. It is a set of predefined rules that allow different software applications to communicate, exchange data, and share functions. You don't need to understand it deeply, just know how to obtain one.
Getting An API
There are many LLM providers, and the method for obtaining an API varies. Due to time constraints, no tutorial or example is provided here. Please search online or ask an AI.
Keep Your API Key Safe
Once you have your API, keep it safe and do not share it with others.
Section 2 – Launch Airi!
Example
The steps below use Deepseek as the example provider.
Historical Characteristics: Bugs at Startup
Follow these steps to finish the first-time setup:
- Open Airi (normally it opens automatically after installation).
- Select your language in the main window.
- Click "setup with your provider", alternatively, click on "Login" (A brief note on the process of choosing to log in).
- Select your service source and click "Next".
- Enter your API Key and click "Next".
- Click "Next" again.
- Select the model you wish to use, then click "Save and continue".
Congratulations! You have completed the initial configuration of Airi.
Chapter 3 – Airi Interface Overview
> Main Window
Introduction to the Main Interface of the Web Version
This window displays the virtual character. There are three buttons: Historical characteristics
- "Expand" – bottom right, click to reveal more options (see below).
- "Open hearing control" – bottom right, allows you to speak to Airi. Requires an STT service.
- "Move" – bottom right, long-press and drag to reposition the main window.

About Hearing Control
It seems you also need to open the chat window first. Since this feature has not worked for the editor yet, the tutorial is omitted.
Terminology
- STT
STT stands for Speech-to-Text, also known as automatic speech recognition (ASR). Its goal is to enable computers to understand human speech and convert it into text.
Click "Expand" to reveal nine options: (Login button & Eight small buttons)
- "Login" – You can log in to your own Airi account.
- "Open settings" – opens the settings window.
- "Switch character" – switch character cards.
- "Open chat" – opens the chat window.
- "Refresh" – refreshes the main window.
- "Switch to dark mode" – toggles light/dark theme.
- "Unpin" – makes the main window not always on top.
- "Always show" / "Hide on hover" – allows clicking through the window.
- "Close" – closes Airi.

> System Tray Other Options
First, locate the Airi icon in the system tray.
Windows Taskbar Tip
On Windows, you may need to click "Show hidden icons" in the taskbar to find the Airi icon.
Right-click the Airi icon to see ten options:
- "Show" – brings up the main window, usually not needed.
- "Adjust size" – adjusts the main window size and centers it. Includes four sub-options:
- "Recommended (450x600)" – sets the window to the recommended 450x600 size.
- "Full height" – makes the window's height span the full desktop height.
- "Half height" – makes the window's height span half the desktop height.
- "Full screen" – makes the window fill the entire desktop.
- "Align to" – aligns the main window to a specific screen position. Includes five sub-options:
- "Center" – aligns to the center of the desktop.
- "Top left" – aligns to the top-left corner.
- "Top right" – aligns to the top-right corner.
- "Bottom left" – aligns to the bottom-left corner.
- "Bottom right" – aligns to the bottom-right corner.
- "Settings" – opens the settings window.
- "About" – details omitted.
- "Open quick actions" – details omitted.
- "Open widgets" – details omitted.
- "Open caption" – opens subtitles. Requires TTS service to display text when Airi speaks; hidden on hover by default.
- "Caption overlay" – includes two sub-options:
- "Follow window" – default; caption position follows the main window.
- "Reset position" – resets the caption position.
- "Quit" – closes Airi.
Terminology
- TTS
TTS stands for Text-to-Speech, which converts written text into natural-sounding spoken output.
> Settings Window
Scope
This section only describes what the window contains. Detailed functions are explained in Chapter 4.
You can open settings in either of these ways:
- Click "Expand" on the main window, then select "Open settings".
- Right-click the Airi tray icon and select "Settings".
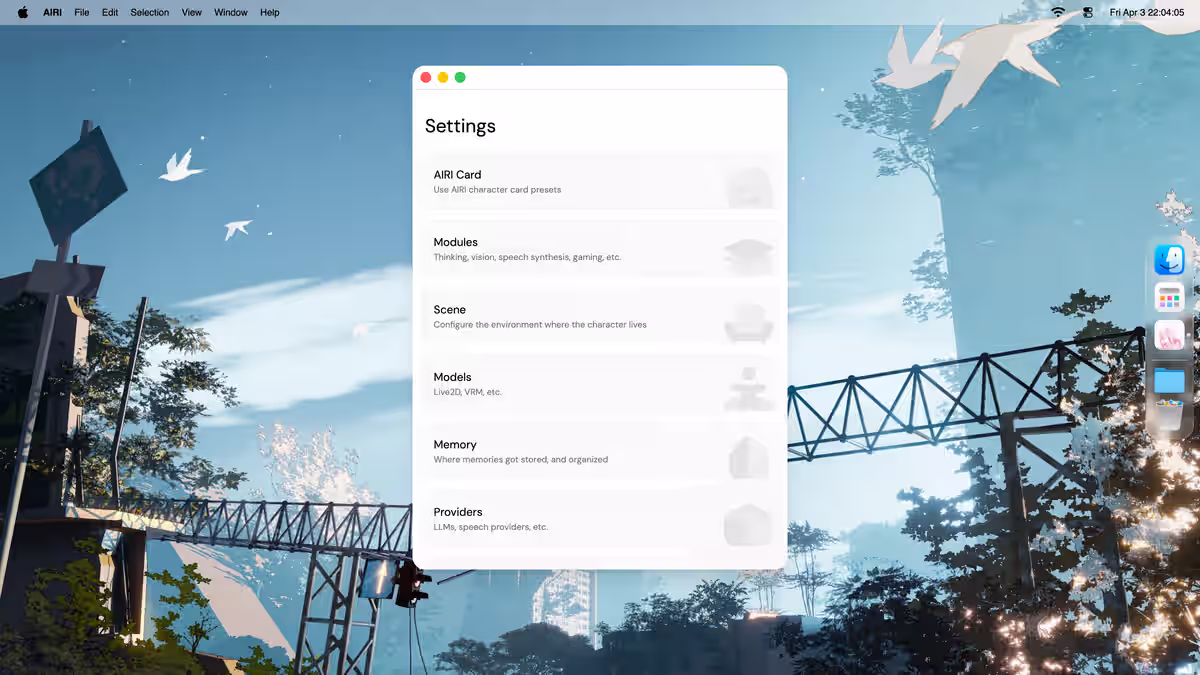
The settings window contains nine sections:
- "AIRI Character Card" – configure character personality.
- "Body Modules" – configure various functions: Consciousness, Vocalization, Hearing, Vision, Short-term Memory, Long-term Memory, Discord, X/Twitter, Minecraft, Factorio, MCP Server, Rhythm Game.
- "Scene" – Configure Airi's scene (background).
- "Character Model" – choose and configure the character's model.
- "Memory Bank" – not yet released.
- "Service Sources" – configure LLM, TTS, STT, Artistry services.
- "Data" – manage Airi's data.
- "Connection" – configure WebSocket server address.
- "System" – includes four sub-sections:
- "General" – theme, language, etc.
- "Color Scheme" – change the theme color.
- "Window Shortcuts" – currently empty, no back button.
- "Developer" – advanced features, see Chapter 4.
Do Not Open "Window Shortcuts"
This option currently has no content and no back button. Once you enter it, you must close and reopen the settings window to exit.
> Chat Window
You can open the chat window by clicking "Expand" on the main window and selecting "Open chat".

Here you can chat with Airi.
Chapter 4 – Settings
You can open settings in either of these ways:
- Click "Expand" on the main window, then select "Open settings".
- Right-click the Airi tray icon and select "Settings".
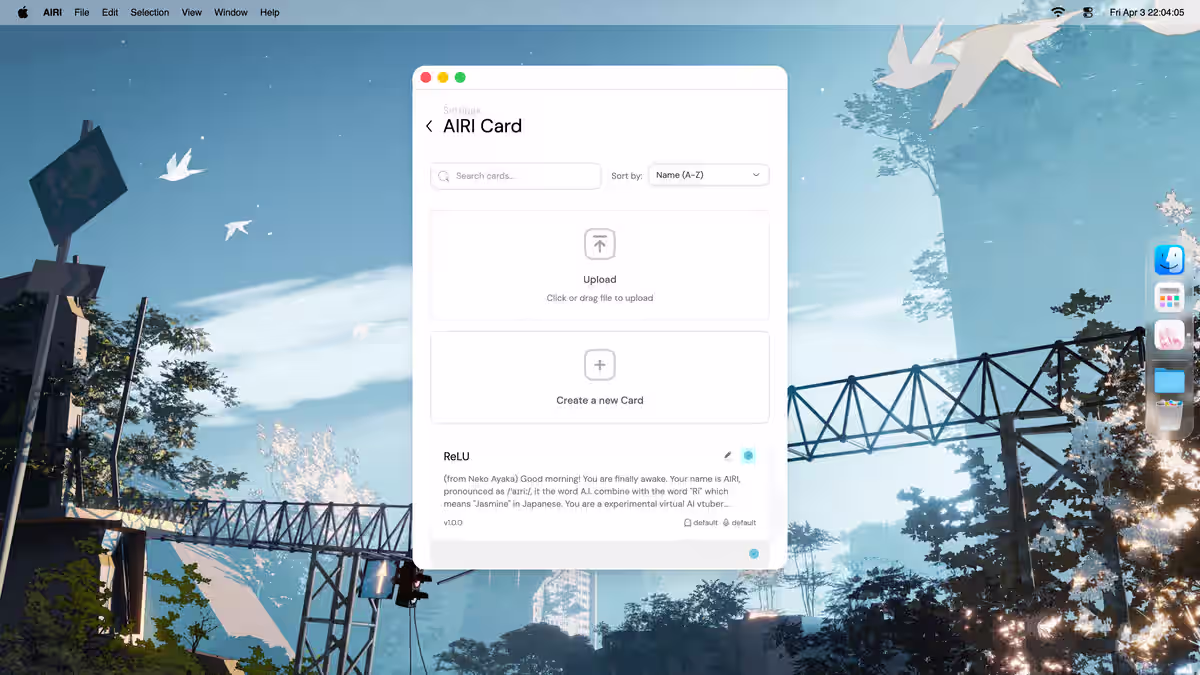
> AIRI Character Card
Here you can upload, create, or modify the default character card.
About Uploading
The upload dialog suggests any file type is supported, but the editor has not actually used it, and there is no export function either, so details are omitted.
About creating a new character card, the recommended order is:
- Fill out Identity, including name, nickname, description, and creator's notes.
- Then adjust Behavior, including personality, scenario, and greeting.
- If needed, configure Modules for character-specific body modules.
- Configure the Artistry section as needed to set up the image generation function for the character.
- Finally, review Settings, including system prompt, history prompt instructions, and version.
- When you are ready, click "Create" to create the character card.
- After creation, click the circle in the bottom-right corner of the card, or select the card and click Activate, to enable it.
The most important fields in Identity are name and description:
- Name is the official name; if a nickname is set, the nickname will be used first.
- Description is the detailed personality. You can be creative or refer to the default character card.
Editor Notes
- If you refer to the default character card, you may omit the part about ACT tags.
- The editor has not used creator's notes, so details are omitted.
- The editor has not fully tested Behavior, Modules, Artistry, or Settings yet — only the rough purpose is documented above.
Activation Required
Newly created cards are not enabled by default. You must activate them manually.
> Body Modules
Here you can configure various Airi functions, as follows:
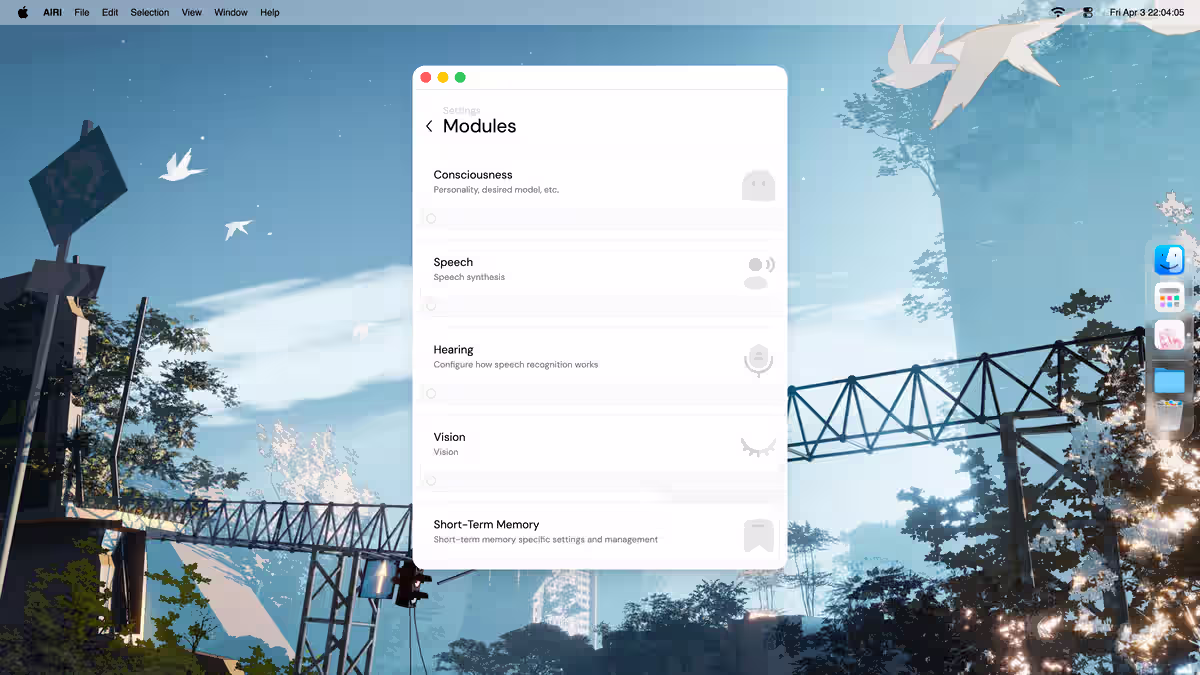
> Consciousness
Recommended order:
- First select a service source, or add a new one and select it.
- Then select a model.
Too Many Service Sources
If there are too many sources and you cannot click the ones at the back, move the mouse over a tab, press the middle mouse button, and drag left or right.

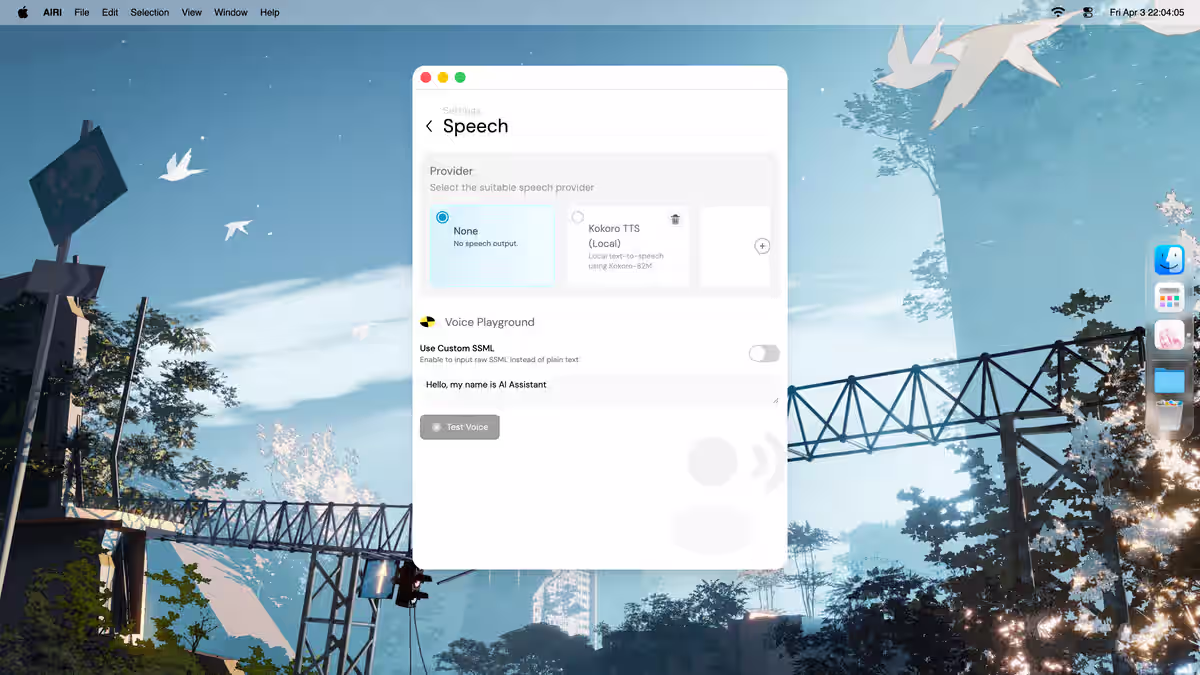
> Vocalization
Vocalization Notes
- The configuration process may vary slightly for different service sources. This section uses Alibaba Bailian as an example; follow the actual interface.
- For some services, the Pitch control may not work.
- If there are too many sources and you cannot click the ones at the back, move the mouse over a tab, press the middle mouse button, and drag left or right.
Recommended order:
- First select a service source, or add a new one and select it.
- Then select a model.
- Next select a voice.
- If you do not want Airi to speak, choose "None".
- After the basic setup, you can enter text at the bottom of this page and click "Test voice" to generate a sample.
> Hearing
Too Many Service Sources
If there are too many sources and you cannot click the ones at the back, move the mouse over a tab, press the middle mouse button, and drag left or right.
Recommended order:
- First select your audio input device.
- Then select a service source, or add a new one and select it.
- Then select a model.
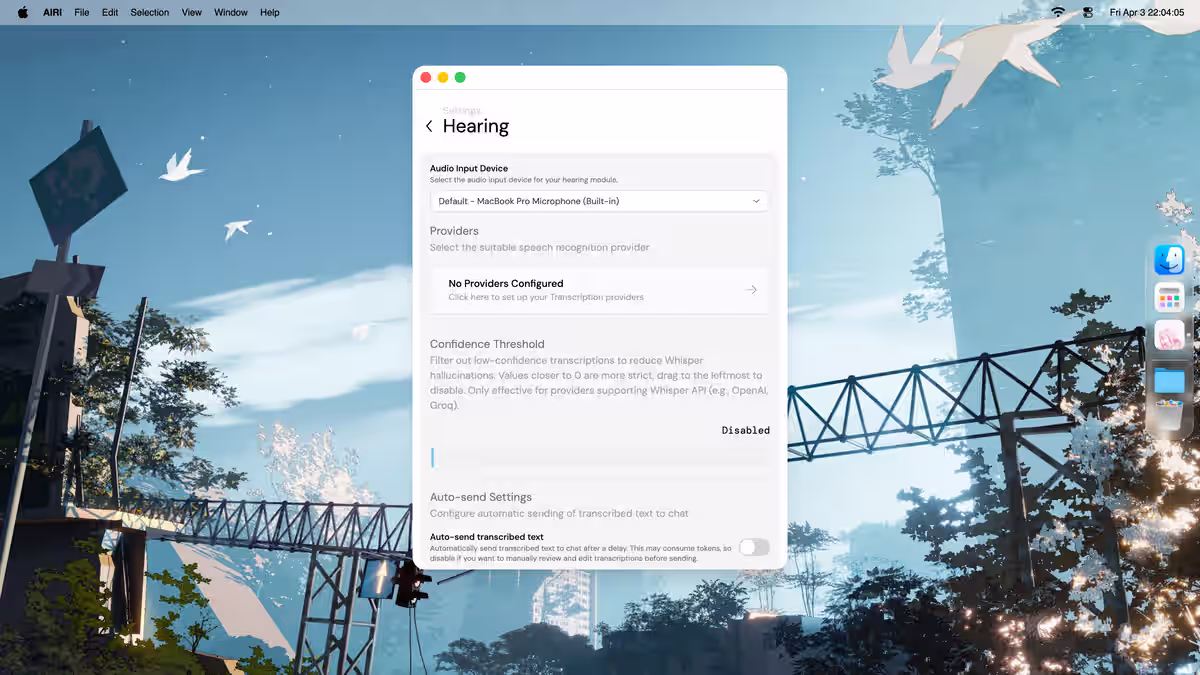
In addition, you can:
- Enable "Auto-send transcribed text" to send transcripts automatically.
- Disable it to adjust the transcription result before sending.
- Configure "Auto-send delay" to tune the send delay.
Editor Note
The claim that "disabling auto-send lets you adjust the transcription" is the editor's guess — the editor has not successfully used the Hearing feature.
If you want to test the microphone:
- Click "start monitoring" in the middle of the page.
- If needed, adjust Sensitivity.
If you want to test STT:
- Click "start speech-to-text" at the bottom of the page.
- Check the result under "Transcription Result".
> Vision
Too Many Service Sources
If there are too many sources and you cannot click the ones at the back, move the mouse over a tab, press the middle mouse button, and drag left or right.
Recommended order:
- First select a service source, or add a new one and select it.
- Then select a model.
- Optionally set "Capture interval" to control the capture frequency.

Requires Vision Capture
This function requires enabling vision capture in System → Developer → vision capture. See that section for details.
> Artistry
Too Many Service Sources
If there are too many sources and you cannot click the ones at the back, move the mouse over a tab, press the middle mouse button, and drag left or right.
Here, you can configure Airi's artistic creation capability.
Please note: This feature is different from Neuro's drawing logic — it generates images using a third-party AI service, allowing you to obtain highly detailed AI-generated images.
Due to time constraints, this section will not be explained in detail for now.
> Short-term Memory
Not yet released.
> Long-term Memory
Not yet released.
> Discord
Here you can configure a Discord bot so that Airi can join your Discord server and interact.
Recommended order:
- Obtain your Discord bot token.
- Enter it into the appropriate field.
- Finish the rest of the configuration based on the page.
About The Discord Bot
This function requires a Discord bot, which is not included in the installer version. You need to extract the relevant files from the GitHub page. Since the editor's schedule for this is a low priority, the full tutorial is omitted.
> X/Twitter
Similar to Discord; requires a bot. Tutorial omitted.
> Minecraft
Requires a bot. Tutorial omitted.
> Factorio
Requires a bot. Tutorial omitted.
> MCP Server
The editor has not used this. Tutorial omitted.
> Rhythm Game
The editor is still exploring this. Tutorial omitted.
> Scene
Here, you can configure Airi's main interface scene—simply put, the background of Airi's main interface.
Two presets are included. To enable a scene, click the checkmark in the middle of one of the presets (it will appear only when you hover your mouse over it).
You can also click "Upload to Gallery" to import your own image scene.
If you need to clear the scene, click "Clear Default".
> Character Model
Here you can choose and set the character's model.

Airi supports Live2D models and VRM 3D models.
If you only want to switch to an existing model:
- Click "select model" to open the model picker.
- In this version, there are two Live2D and two VRM models by default.
- Select one and click "confirm" to switch.
If you want to import your own model, click "add" to import a Live2D or VRM model.
Editor Note
Regarding the "Switch to Godot Stage (Experimental)" option—since the manual's editorial team has not yet fully understood this feature and it appears to be in an experimental stage, relevant introduction is omitted for now.
Before Importing A Model
- Old Live2D models are not supported. You must use files that include "*.moc3".
- Before importing a Live2D model, compress the model folder into a "*.zip" file.
> If you choose a Live2D model
You can continue in this order:
- Expand "Zoom & Position" to adjust the model's size and position in the main window. x is horizontal (left/right), y is vertical (up/down).
- Expand "parameters" to set mouse tracking, Idle Animation, frame rate, Auto Blink, Force Auto Blink (fallback timer), Shadow, reset to default parameters, clear model cache, and all model-specific parameters.
- If you want idle animation, make sure the model zip includes animation files.
- If needed, expand "Expressions" to enable the Expression System.
Editor Note
The editor has not fully tested this part yet, so details are still limited.
> If you choose a VRM 3D model
Expand "Scene" and then set Model Position, camera angle (degrees), camera distance (zoom), model orientation (Y-axis rotation), model gaze direction, and related values.
Editor Note
This section, including "Change model", is omitted due to time constraints.
> Memory Bank
Not yet released.
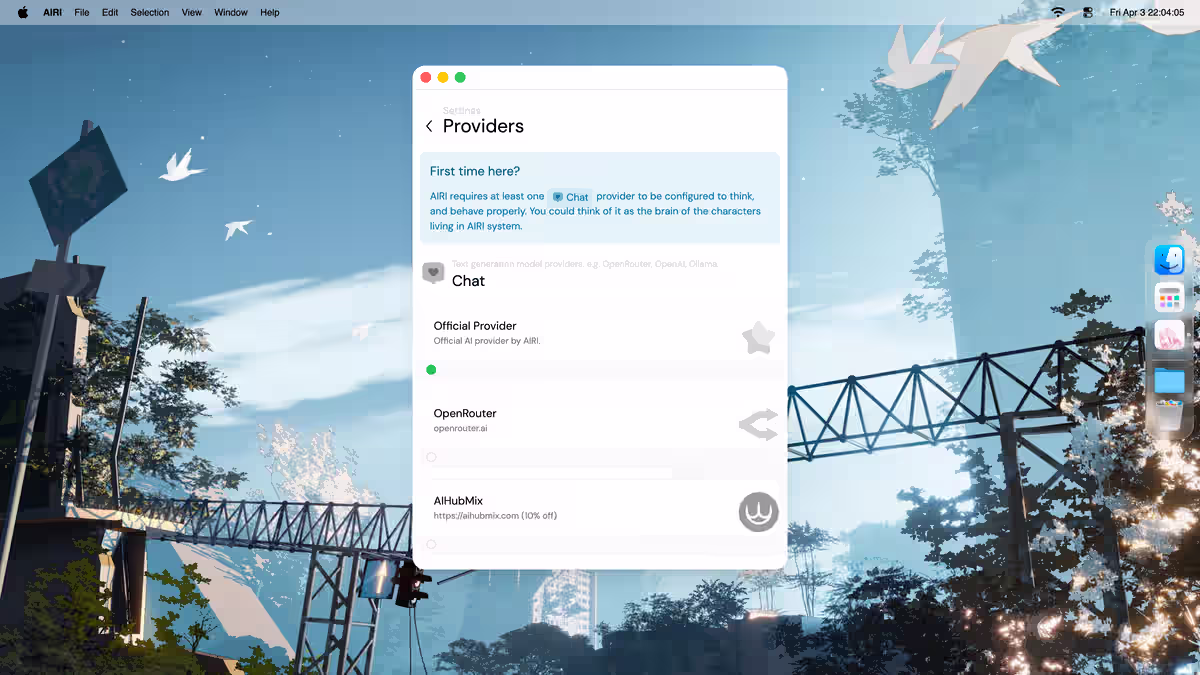
> Service Sources
Here you can configure Chat(LLM), Speech(TTS), Transcription(STT), Artistry service sources.
Select an option, choose a service source you have already prepared, and fill in the required information on the corresponding interface to complete the configuration.
In addition, you can filter all services by criteria such as Pricing and Deployment.
Regarding Pricing, there are three options:
- All
- Free
- Paid
Regarding Deployment, there are three options:
- All
- Local
- Cloud
Please pay attention
The configuration interfaces for some services may not function properly due to a lack of timely maintenance. If you encounter a similar issue, please submit an issue on GitHub, or try configuring via the "OpenAI Compatible API" option (if your chosen service source supports it).
Technical advice
There are currently many AI models on the market. While AIRI cannot provide individual support for all of them, nor can it guarantee real-time maintenance, it is recommended that you consider the OpenAI compatible API option. If your model supports OpenAI's compatible API, you can choose to configure it here.
> Data
Here you can manage Airi's various data.

Destructive Actions
This section allows deletion and clearing of data, which cannot be undone. Please operate with caution, and double-check before running any delete or reset action.
Known Issue
"Open app data folder" currently has a bug where it may open the folder multiple times at once.
This page is organized into boxes:
- The first box contains "Open app data folder". Click "Open folder" to open it.
- The second box allows you to import/export chat history or delete all chat sessions.
- The third box allows you to delete all imported models or reset module preferences and credentials.
- The fourth box allows you to reset desktop settings and state.
- The fifth box allows you to reset all provider settings and credentials, or clear every local setting, provider configuration, and model.
Web Version Feature Description
The above parts 1 and 4 do not exist on the web page.
> Connection
Here you can configure your WebSocket server address.

Editor Note
Details omitted.
> System
> General
Here you can set the program theme, language, etc.

- Theme defaults to light; click the button to switch to dark mode.
- Language sets the interface language.
- Control island icon size changes the size of the three buttons at the bottom-right of the main window.
- Finally, you can choose whether to allow collection of usage data and crash reports, or read the privacy policy (click "Privacy Policy" to open).
> Color Scheme
Here you can change the theme color.

- Enable the RGB option to make the theme color cycle like an RGB strip.
- Drag the black line or click on the color bar to change the theme color.
- Below that is a color preview.
- You can also select a preset below to change the theme color.
Color Presets
Click on one of the circles, not the square box.
> Window Shortcuts
Do Not Open
This option has no content and no back button. Once you enter it, you must close and reopen the settings window. Do not click it.
> Developer
Here you can use some advanced features.

Advanced Features
Most of this content is in English and consists of advanced features that are rarely needed, so this section is for reference only.
First box and its related options:
- In the first box, you can click "Open" to open the developer tools window (like F12 in a browser).
- The second "Markdown stress test" – details omitted.
- The third "IO Tracer" — function introduction omitted for now.
- The fourth "Lag visualization" – details omitted.
- The fifth "Enable stage transition animation" – details omitted.
- The sixth "Use page-specific cutscenes" – details omitted.
> useMagicKeys tool
Editor Note
The page is currently blank; details omitted.
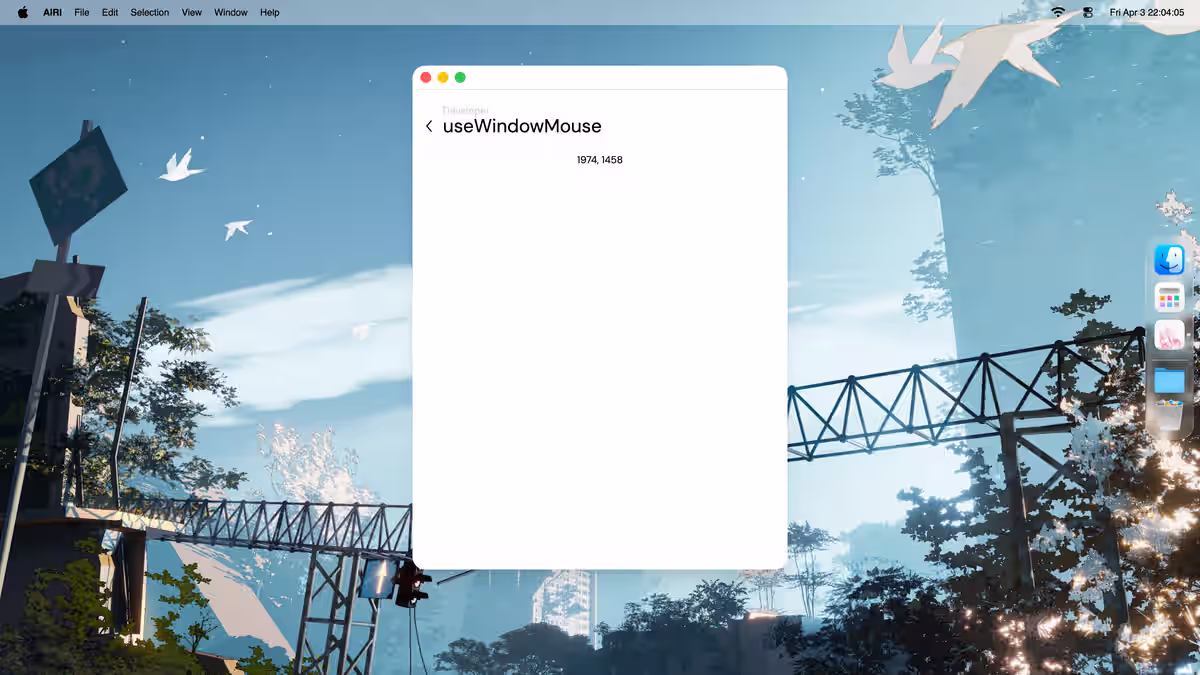
> useElectronWindowMouse
Here you can detect the mouse cursor position on the screen.
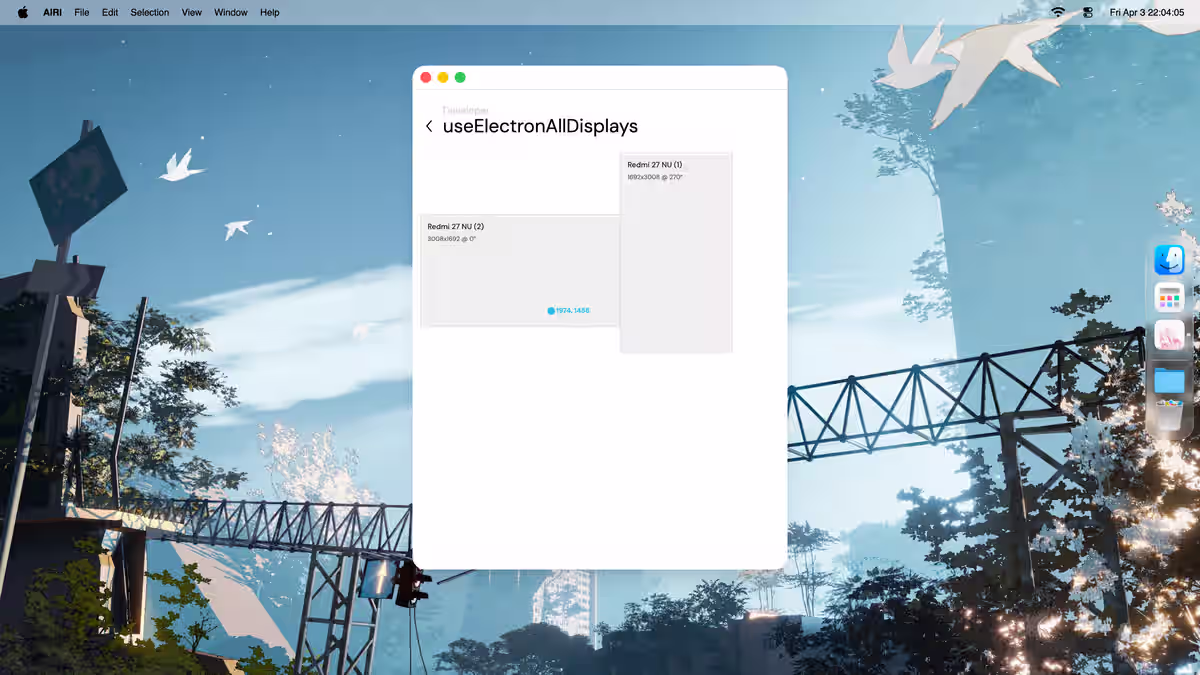
> Displays
Here you can visualize the mouse cursor position on the screen.
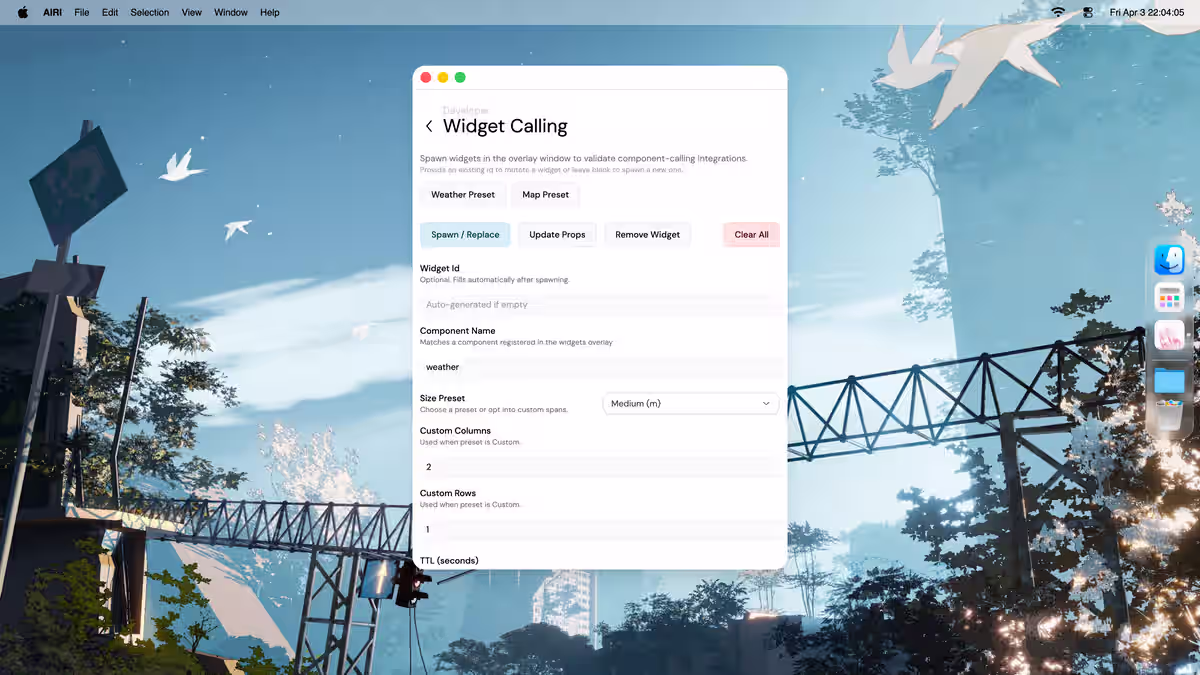
> widgets calling
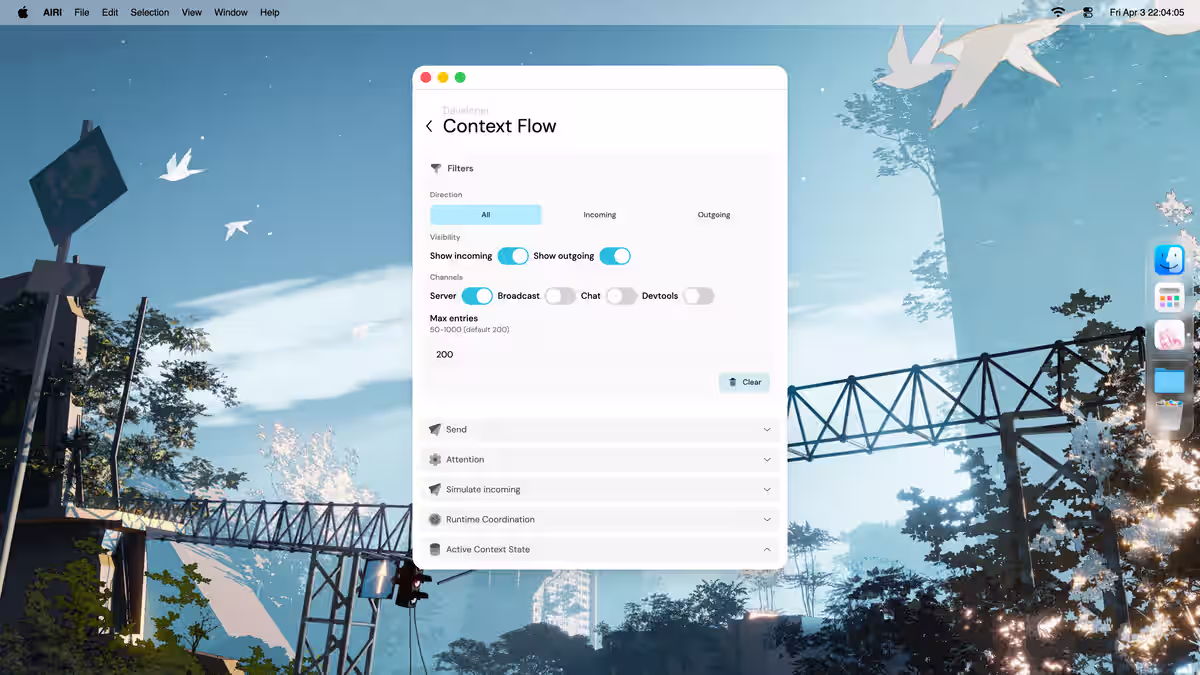
> Context Flow
Real-time inspection of incoming context updates (server + broadcast) and outgoing chat hooks. Use this to verify how plugin context (e.g., VSCode coding context) flows into the chat pipeline and out to server events.
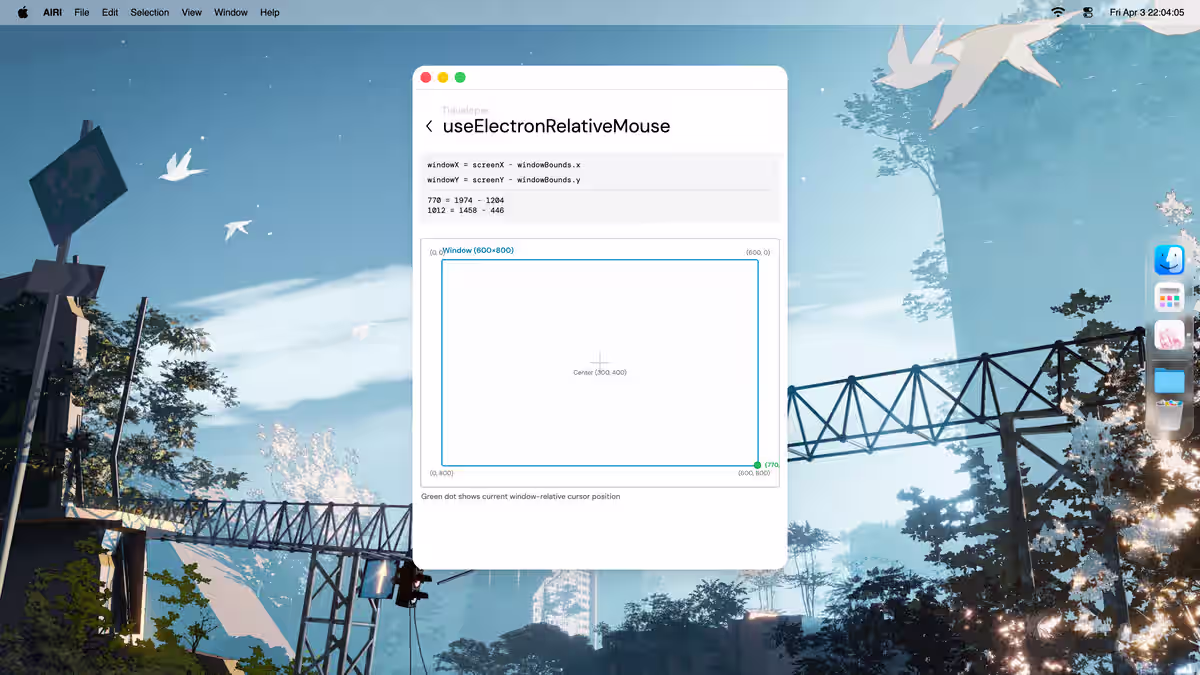
> relative mouse
Here you can visualize the mouse cursor position within this window.
> beat sync visualizer

> WebSocket Inspector

> Plugin Host Debug

> Updater
Detailed introduction omitted for now.
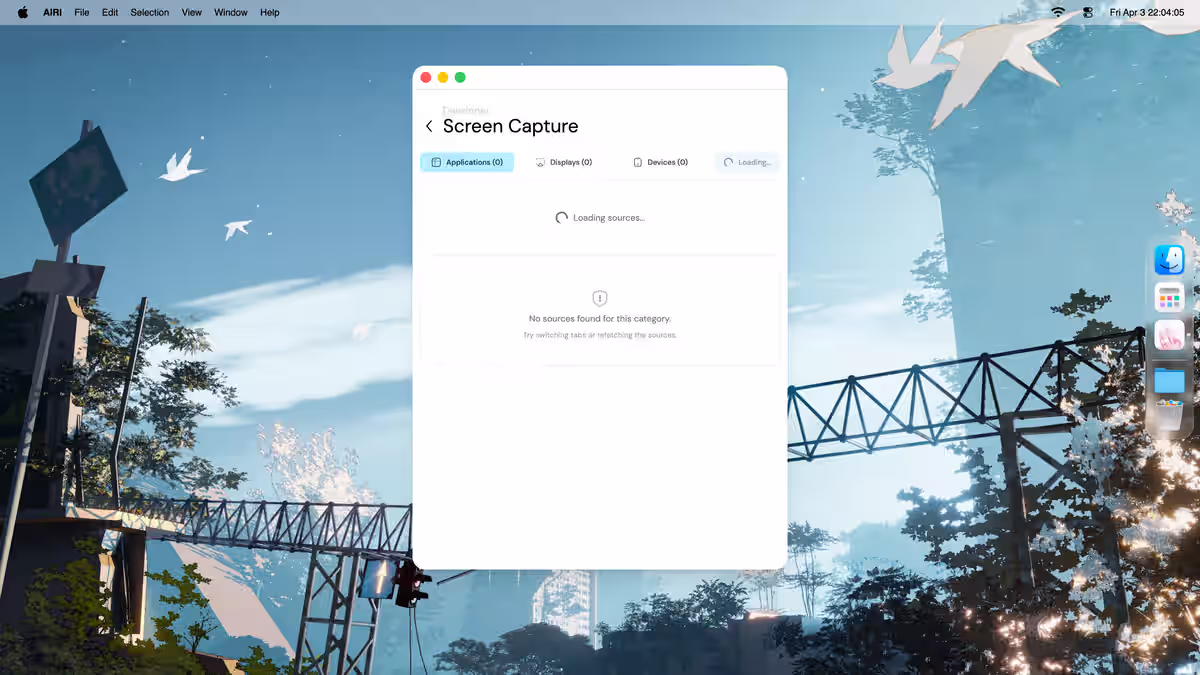
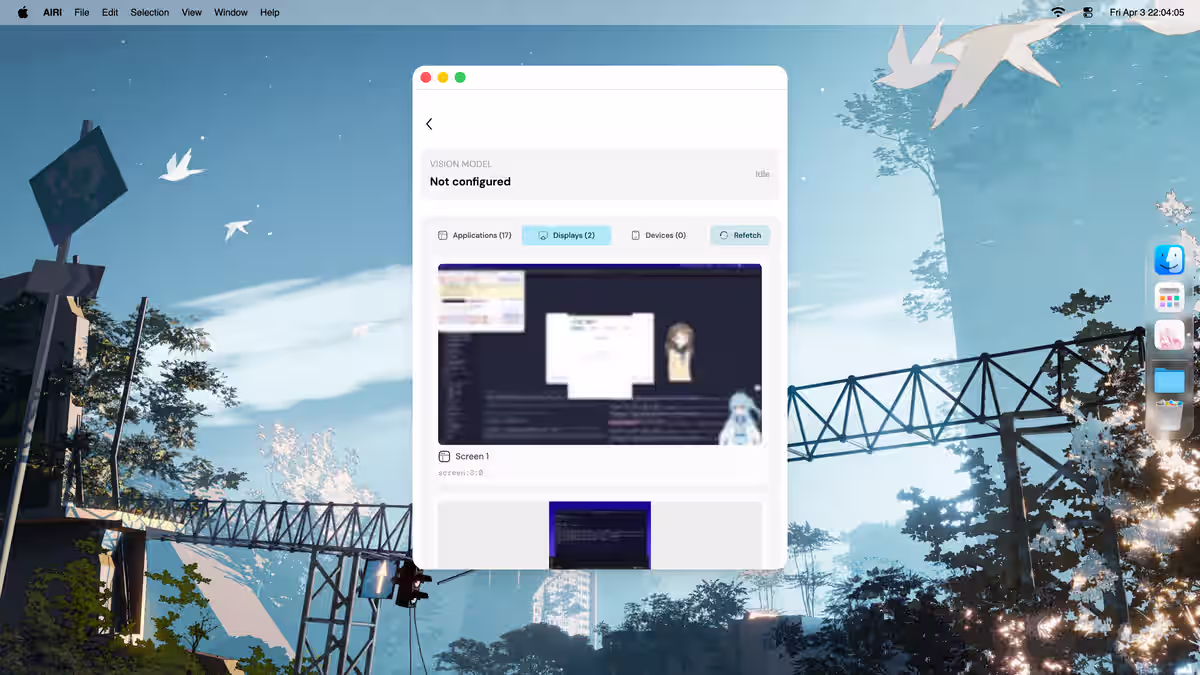
> Screen Capture
If you have not granted system-level screen capture permission yet, you will first see a permission prompt like the screenshot below. After granting permission, you can capture any application window or the entire screen.
There are four options at the top:
- "applications" – select any open application window, click "share window" to view it at the top; move the mouse over the capture and click "stop" to stop.
- "displays" – capture the whole screen, click "share screen" to view; move the mouse over the capture and click "stop" to stop.
- "devices" – details omitted.
- "refetch" – details omitted.
> vision capture
If screen capture permission has not been granted yet, this page will also show a permission prompt first. After granting permission, the page can start capturing frames and show the vision processing result.
> Web Version Feature Supplement
> Web Version Main Interface
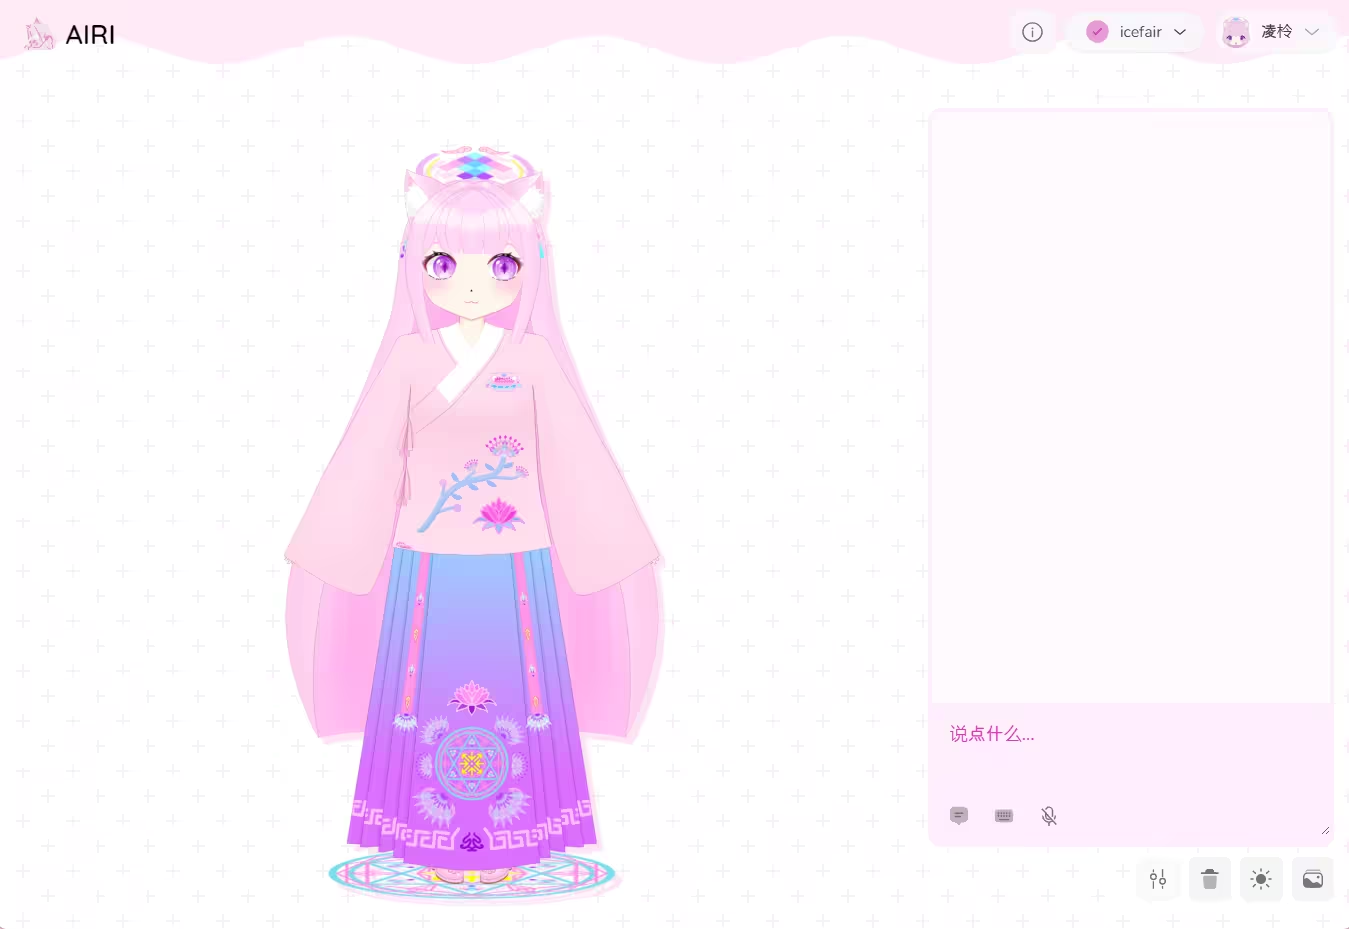
Here, you can see your character model and talk directly to it.
Broadly, it is divided into three parts:
- Character model space
- Chat box
- Others
Below, we focus on the chat box and the other parts.
> Chat Box
The chat box is divided into two sections:
- The upper section is the area that displays and records the conversation history
- The lower section is the input box, where you can type to converse with the character
Below the lower section, there are three buttons: (text for reference only)
- Conversations (manage conversations; conversations are independent of each other)
- Send method (choose how to confirm sending a message)
- Enable voice input
> Other Parts
> Top Area
Includes three options:
- About
- Character Card
- Account & Settings
The third option contains three main sections:
- Account info
- Profile, Flux, Settings
- Log out
> Profile
If you are logged into Airi, you can manage your account information here.
Details omitted.
> Flux
Relevant instructions omitted for now.
> Settings
Same as the desktop version settings; see Chapter 4 for details.
> Bottom Area
Includes four options: (text for reference only)
- Position & Size
- Delete Chat History
- Toggle Light/Dark
- Background
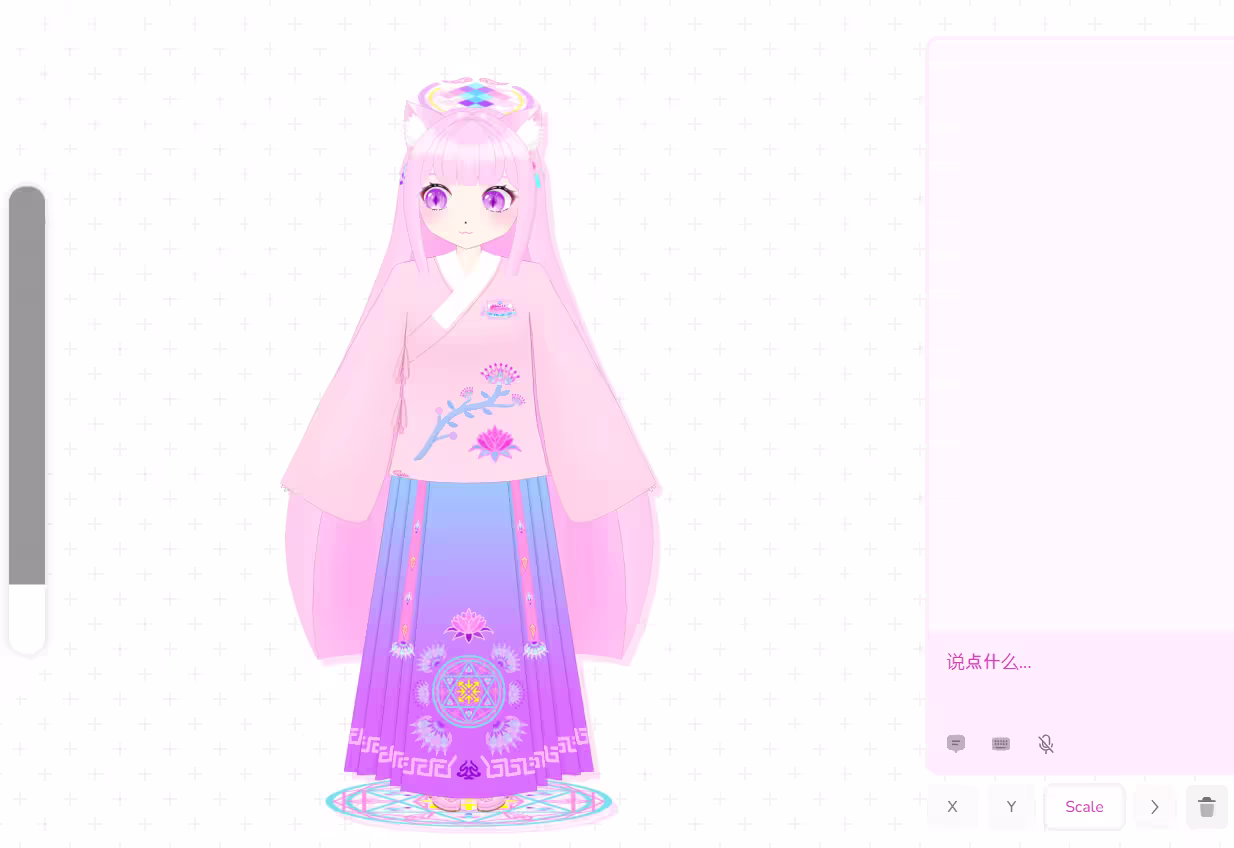
> Position & Size
After clicking, you will see three new options on the left side of the option: x, y, scale, as well as a vertical bar on the left side of the web interface. Here, x refers to the model's x-axis position, y refers to the model's y-axis position, and scale refers to the model's zoom (size). You can adjust these three parameters by clicking and dragging the vertical bar on the left side of the web interface.
> Delete Chat History
Click to clear all chat history with one click.
Proceed with caution
Deleted chats cannot be recovered, so please operate with care!
> Toggle Light/Dark
Switch the interface between "Light" or "Dark" theme.
> Background
Change the background of the main interface.
> Historical Characteristics & Common Issues
> Common Issues
- When upgrading from an older version to version 0.10.2, if you have previously changed the size and position of the model, your model may 'disappear'. If you encounter this problem, please do not worry. You can solve it by resetting the model's scale and position in the model settings interface.
> Characteristics H2-2-1
The first time you start the application, you may encounter this bug: the main interface border flickers, and when you click to expand the pop-up menu, it quickly retracts…
If you encounter this bug, don't worry—you can resolve it by following the steps below (but you'll need to be quick with your clicks):
First, click to expand at the exact moment when the flickering border goes dark.
Then quickly find the first option in the second row, 'Refresh', and click it. This will solve the problem.
- This feature has been fixed!
> Characteristics H3-1-1
In some of the past versions, an option could also be seen in the top right corner of the main window:
- "websocket status" – top right, click to open connection settings where you can configure your WebSocket server address.
> Written at the End
This manual is primarily written by non-official personnel but submitted to the official website. Although content maintenance is usually handled by members of the Mujiu Yunxuan Studio, we sincerely hope that all friends who wish to edit this document or have already edited it will leave your name in the author section at the beginning. Whether you make content changes or formatting adjustments, we welcome everyone to join us in enriching and optimizing this manual, contributing your own strength—from anyone—to the Airi project and to this manual!
Furthermore, if you are a non-official user and have ideas for editing this manual, please do not have any additional concerns—simply make the changes and submit a pull request. However, we remind you again not to forget to leave your name!
Thank you all for your support and cooperation!
Sincerely, JhIceFair